Getting Started
FacetWP is a WordPress plugin that provides the ability to easily set up customized filters for your content. CoreResources has built in support for FacetWP to integrate with the resource library on the front-end.
To get started using FacetWP, first make sure FacetWP is installed in your site plugins. If you are using Elementor, you will also need to install the FacetWP Elementor Integration add-on.
An additional add-on you can install but is not necessary is the FacetWP Flyout add-on which adds the ability to turn the filters into a flyout menu on mobile devices. Support for custom styling on this is included with CoreResources when using Elementor.
Default Facets
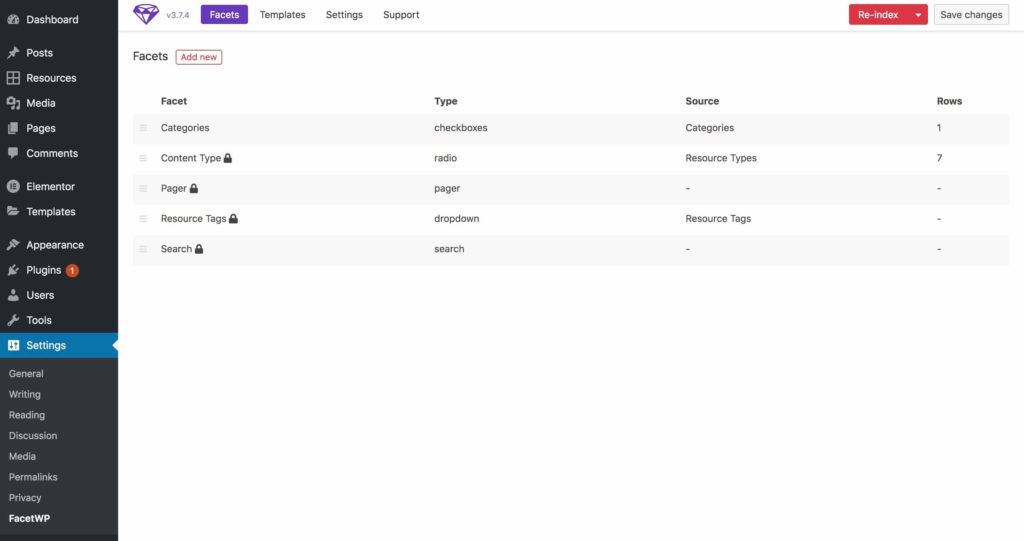
CoreResources comes shipped with a few default facets which can be find by going to Settings > FacetWP through the admin menu. The default facets are:
- Content Type – radio buttons of each existing resource type
- Pager – FacetWP powered pagination for use on pages with filtering
- Resource Tags – dropdown selector of the resource tags
- Search – a search bar for use on a filterable page

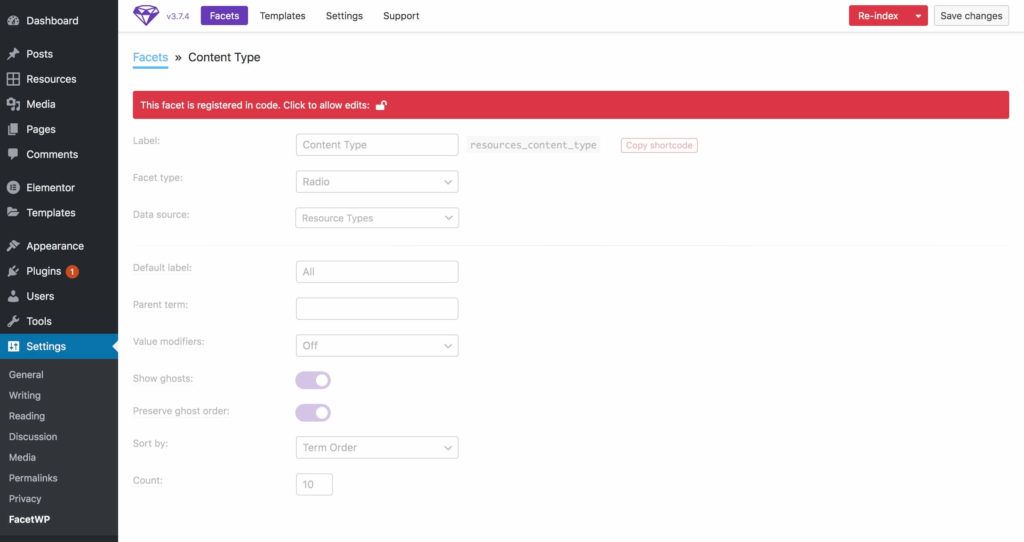
You will see a lock icon next to these – that is because upon installation they are initially locked to edits. If you want to change the way one of these default filters work, click on its name to view the Edit screen. It will give you a message “This facet is registered in code. Click to allow edits: ” and click the lock icon next to the words. You will then be able to make edits to that facet.

Adding New Facets
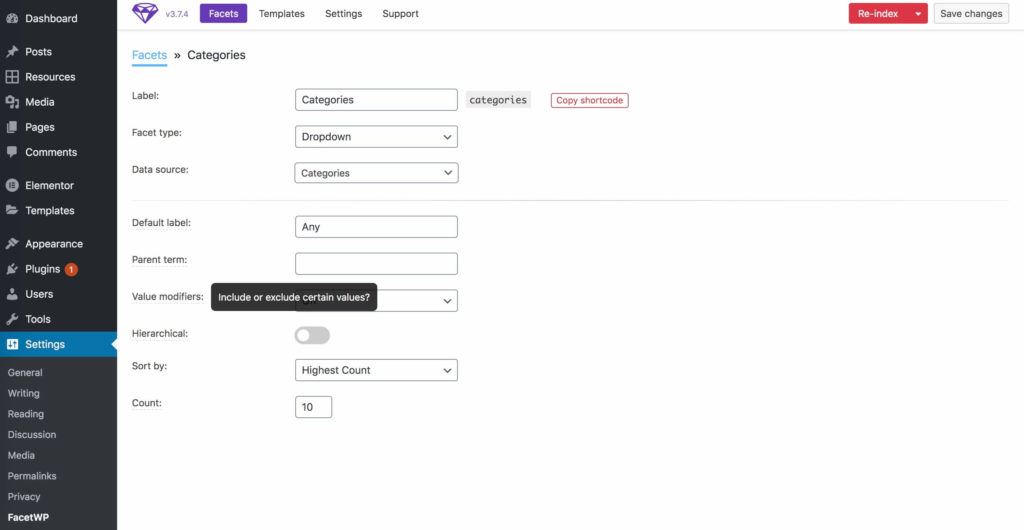
To add a new facet, navigate to Settings > FacetWP. Then click “Add New” next to the heading. This will give you some configuration to set up:
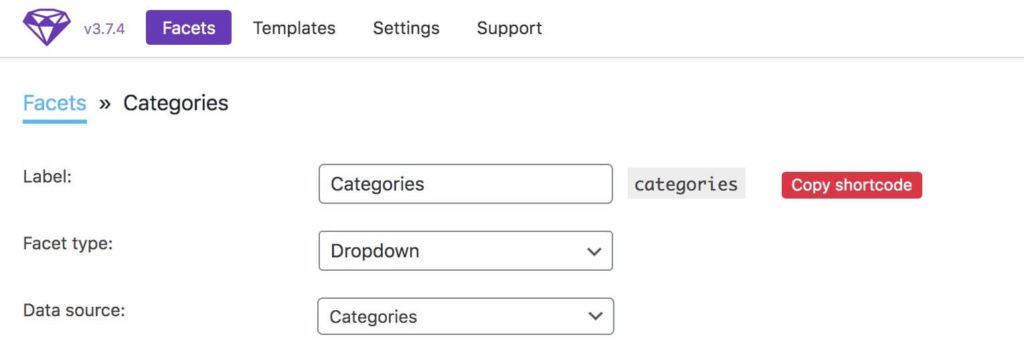
- Label – the name displaying in the backend to let you know what the facet is for
- Facet Type – this is the type of facet it will display as. The type options include:
- checkboxes
- dropdown
- fSelect
- radio
- hierarchy
- slider
- search
- autocomplete
- date range
- number range
- star rating
- proximity
- pager
- Data Source – this is what the facet is filtering by, such as a taxonomy or custom field.
Below those 3 will be other settings that may change once you select the Facet Type. You can hover over each setting’s label to see more information on what they are for.

Once you are done, save your Facet. Then you can display it on a page or template.
Displaying Facets on a Template/Page
If you are using Elementor to create your Resource Center, you can use the Resource Facet Filters widget to easily add the facet filtering and style them.
If you are not using Elementor, you can add the Facets to a page via the shortcodes. Click into the Facet you want and then click the “Copy Shortcode” button.

You can then paste that shortcode where desired. If using the Customizer, see the Resources Type Archives for adding custom filtering there.
