Accessing the settings page
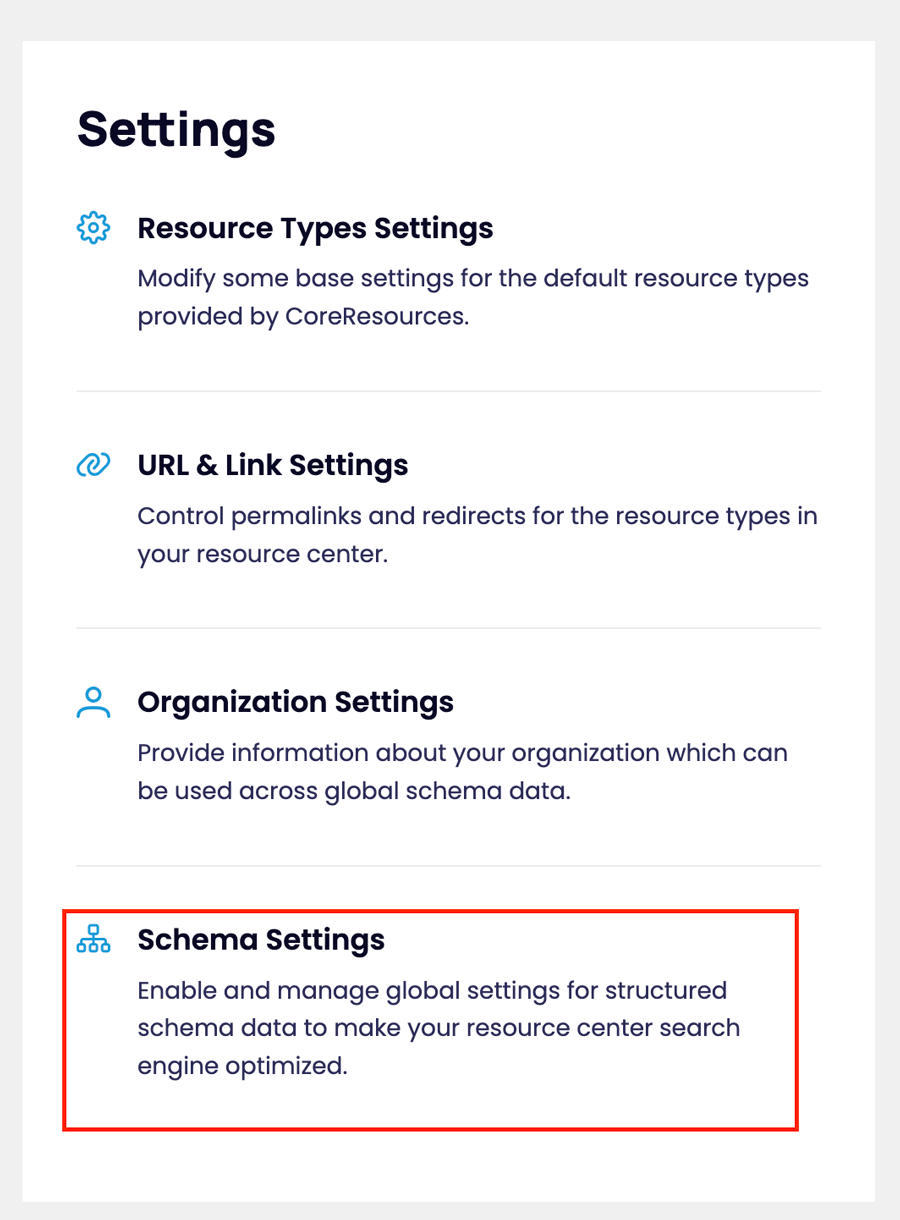
- To start using Schema on your Resources, hover over ‘Resources’ on the left sidebar and click on ‘Dashboard.’ From the dashboard you will see a settings panel, click on ‘Schema Settings.’
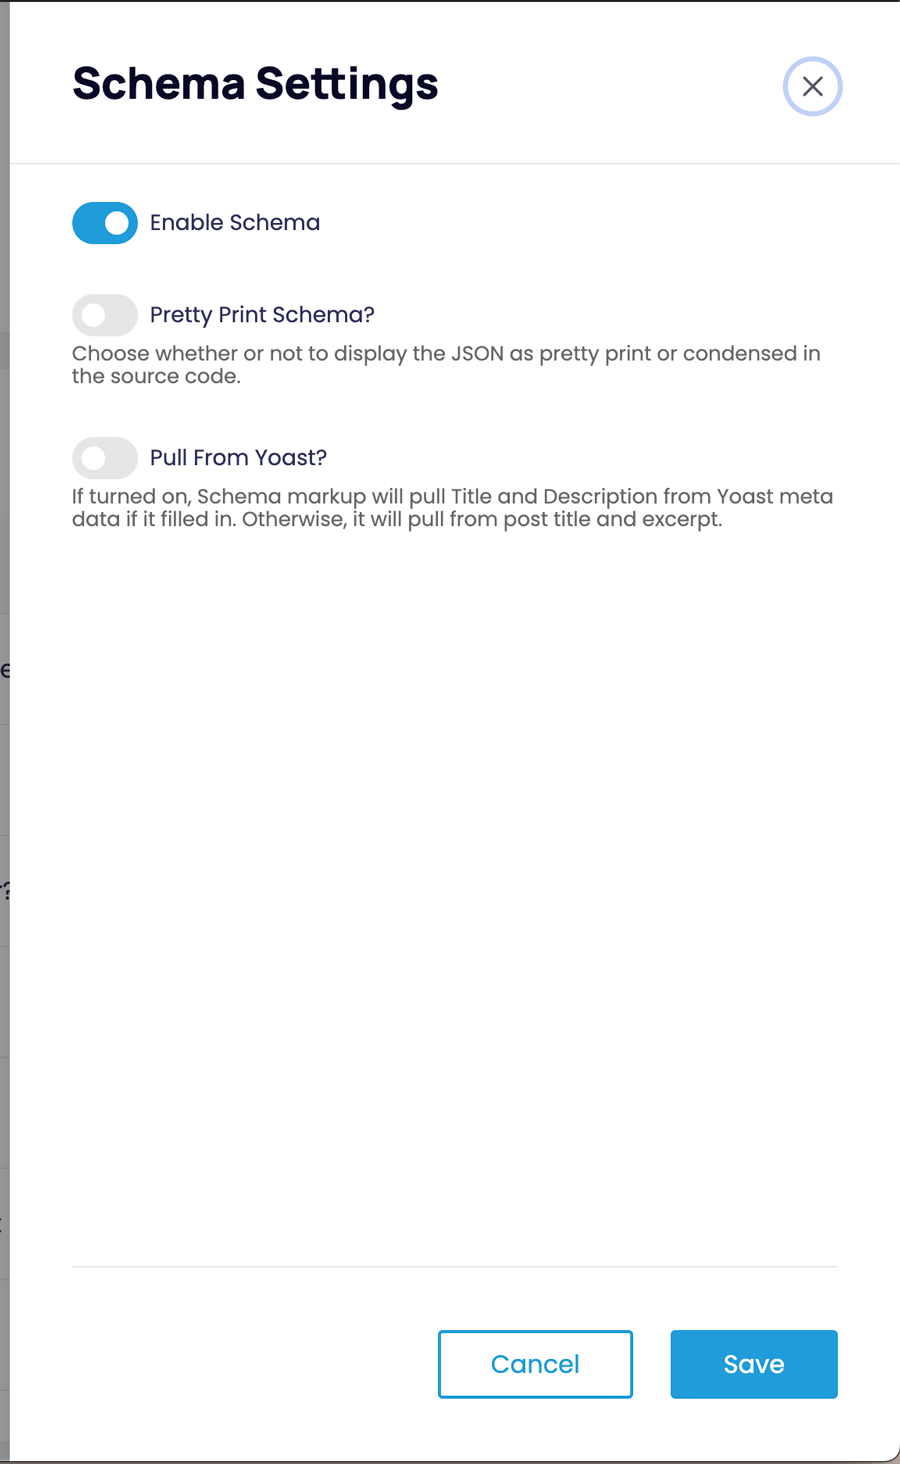
- The first thing you will want to do is make sure the ‘Enable Schema?’ toggle is switched to ‘YES.’ Once this is turned on, you will have access to all of the customization options.
- Then, there are two other global settings that you can adjust:
- Pretty Print: if this is set to ‘Yes’, the Schema will be easily readable with line breaks and indenting in the source code. If set to ‘No’ it will be inserted as a single line of code. If you want to inspect the code once it is on the page via your browser developer tools, setting Pretty Print to Yes is recommended as it will be easier for you to read.
- Pull from Yoast: if this is set to ‘Yes’ the schema will use the SEO Title and Meta Description fields for the ‘Title’ and ‘Description’ schema fields. If those fields are empty, or if this is set to ‘No,’ it will default to use the Post Title and Excerpt. This option is only available if the Yoast plugin is active on the site.
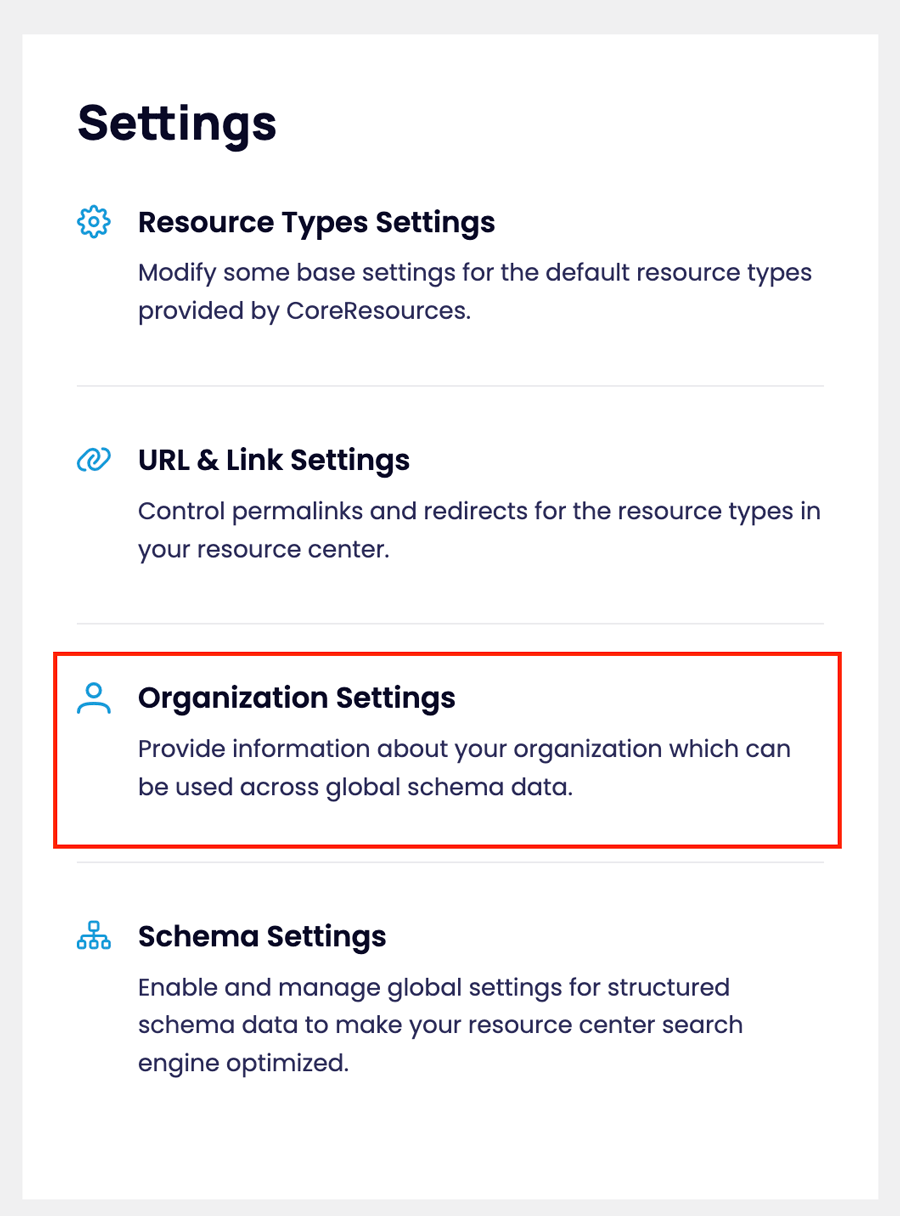
Adding your organization information
- To edit your organization settings, click on ‘Organization Settings’ under the Settings panel on the main dashboard.
- You will then be able to update the following fields:
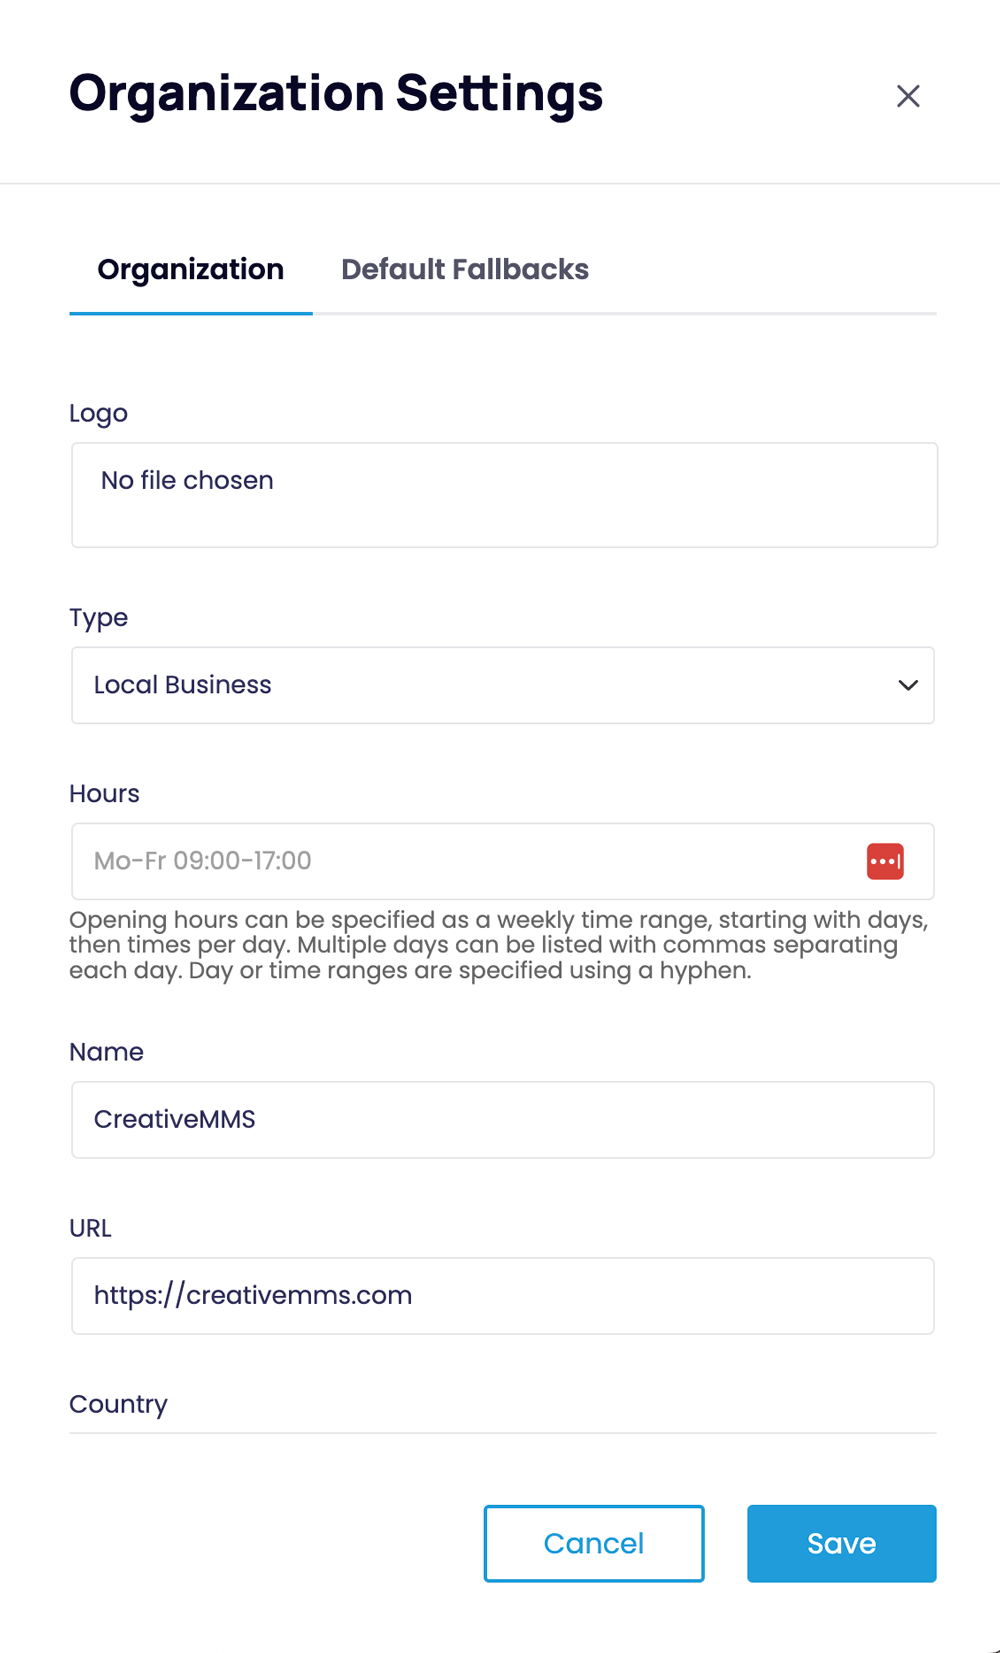
Your organization information will be included with every resource post, so it’s very important that you add this information in the way that makes the most sense for your particular organization. A comprehensive guide can be found here, but we’ll outline the options briefly below as well:
- Organization Type: select from the most common types of organization that best describes your organization.
- Opening Hours: use the noted shorthand to enter business hours. This field is only available for Local Businesses, and Educational Organizations.
- Organization Name: enter the official name of your organization
- Organization URL: enter the URL you want associated with your organization (most likely the site’s URL).
- Organization address: enter the address where your organization is located
- Organization logo: add the logo of your organization
- Organization description: add a short description of your organization
- Organization social accounts: Add the URLs for the social media accounts that you want to be connected to your organization.
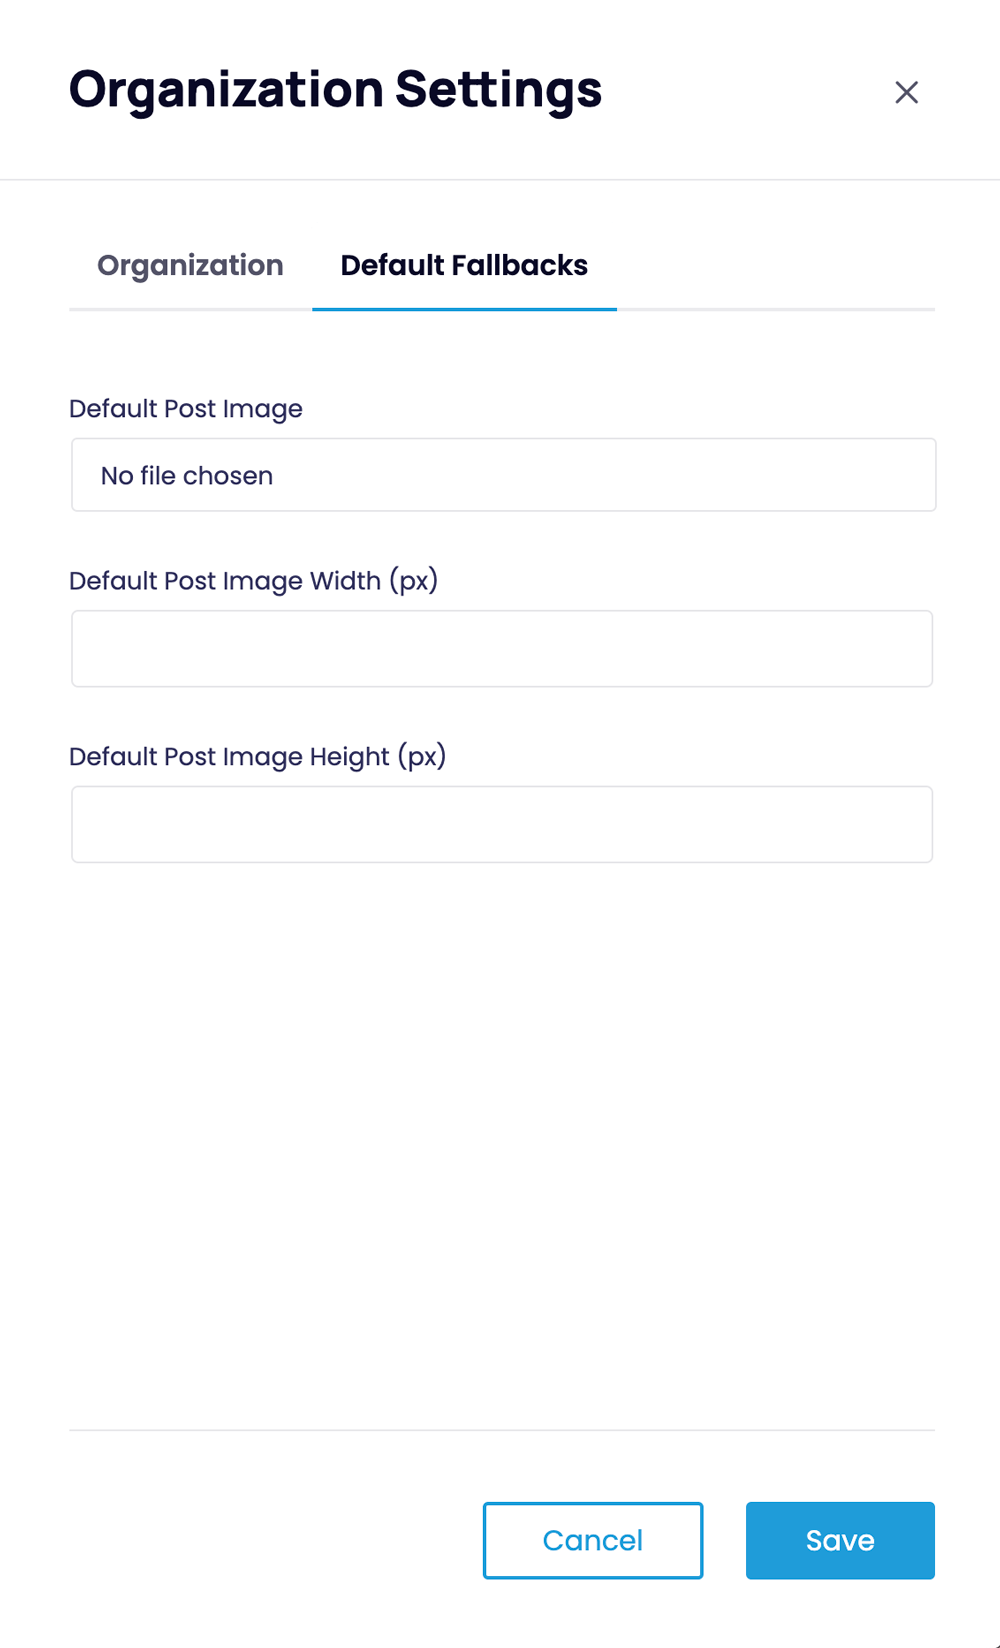
Adding default fallback options
The next tab in the organization settings panel is where you can add fallback information in case a resource post is missing certain information. For now, this is limited to an image. So, if a resource is missing a unique featured image, it will use this image instead. Simply upload it, and then define the width and height in pixels.