Getting Started
Elementor Templates are an essential building block for your Resource Center. You can style your entire Resource Center just by utilizing three various types of templates – archive, category archive, and single post. In this article, we will go over how to set up the main Resource Archive. This is the page on your site that displays all of your resource posts, regardless of resource type. For example: yoursite.com/resources.
Importing Your Template
When you download CoreResources, a zip file is included consisting of some basic Elementor Templates to get you started. You can learn more about the included templates here. For this article, we will be focusing on the main archive template. If you imported the zip of all of the templates, this is the one titled “CoreResources Archive List View.” Otherwise, we will go over how to import this template individually.
To start, login to your WordPress site and navigate to the “Templates” section under Elementor on the left sidebar. On the top left corner of the page, click “Import Templates.” You will be prompted to select a file. In the unzipped folder fo Elementor Templates, locate the file called “coreresources-archive-list-view.json” and select it. Then, click “Import Now.” You will now see “CoreResources Archive List View” in your list of templates.
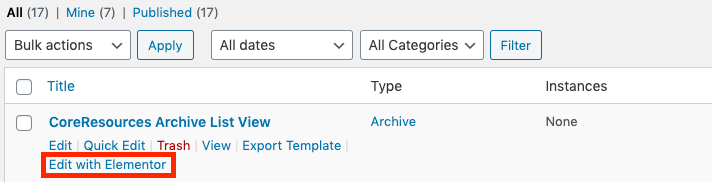
Once you have the template imported, you can edit it by hovering over the title and clicking “Edit With Elementor.”
Here is where you will be able edit the content and style of your archive page. If you wish to customize the post grid, you can learn about that widget here. Once you have the template looking good, click the green “Update” button in the lower left hand corner. You will then be prompted to add Display Conditions, which you can read about below.
Creating a Template
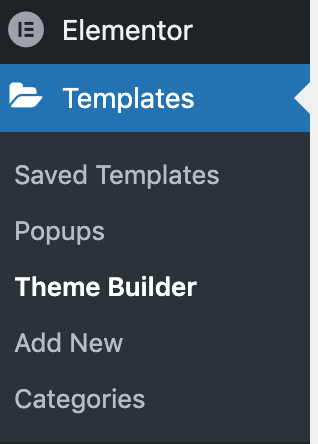
To start, login to your WordPress site and navigate to the “Templates” section under Elementor on the left sidebar. From here you’ll click on “Theme Builder.” It’s important not to confuse this section with “Saved Templates.” Saved Templates refer to templated sections of a page, or a templated page you can reuse on different individual pages. The theme builder allows you to build a template for specific Post Types, like Resources.
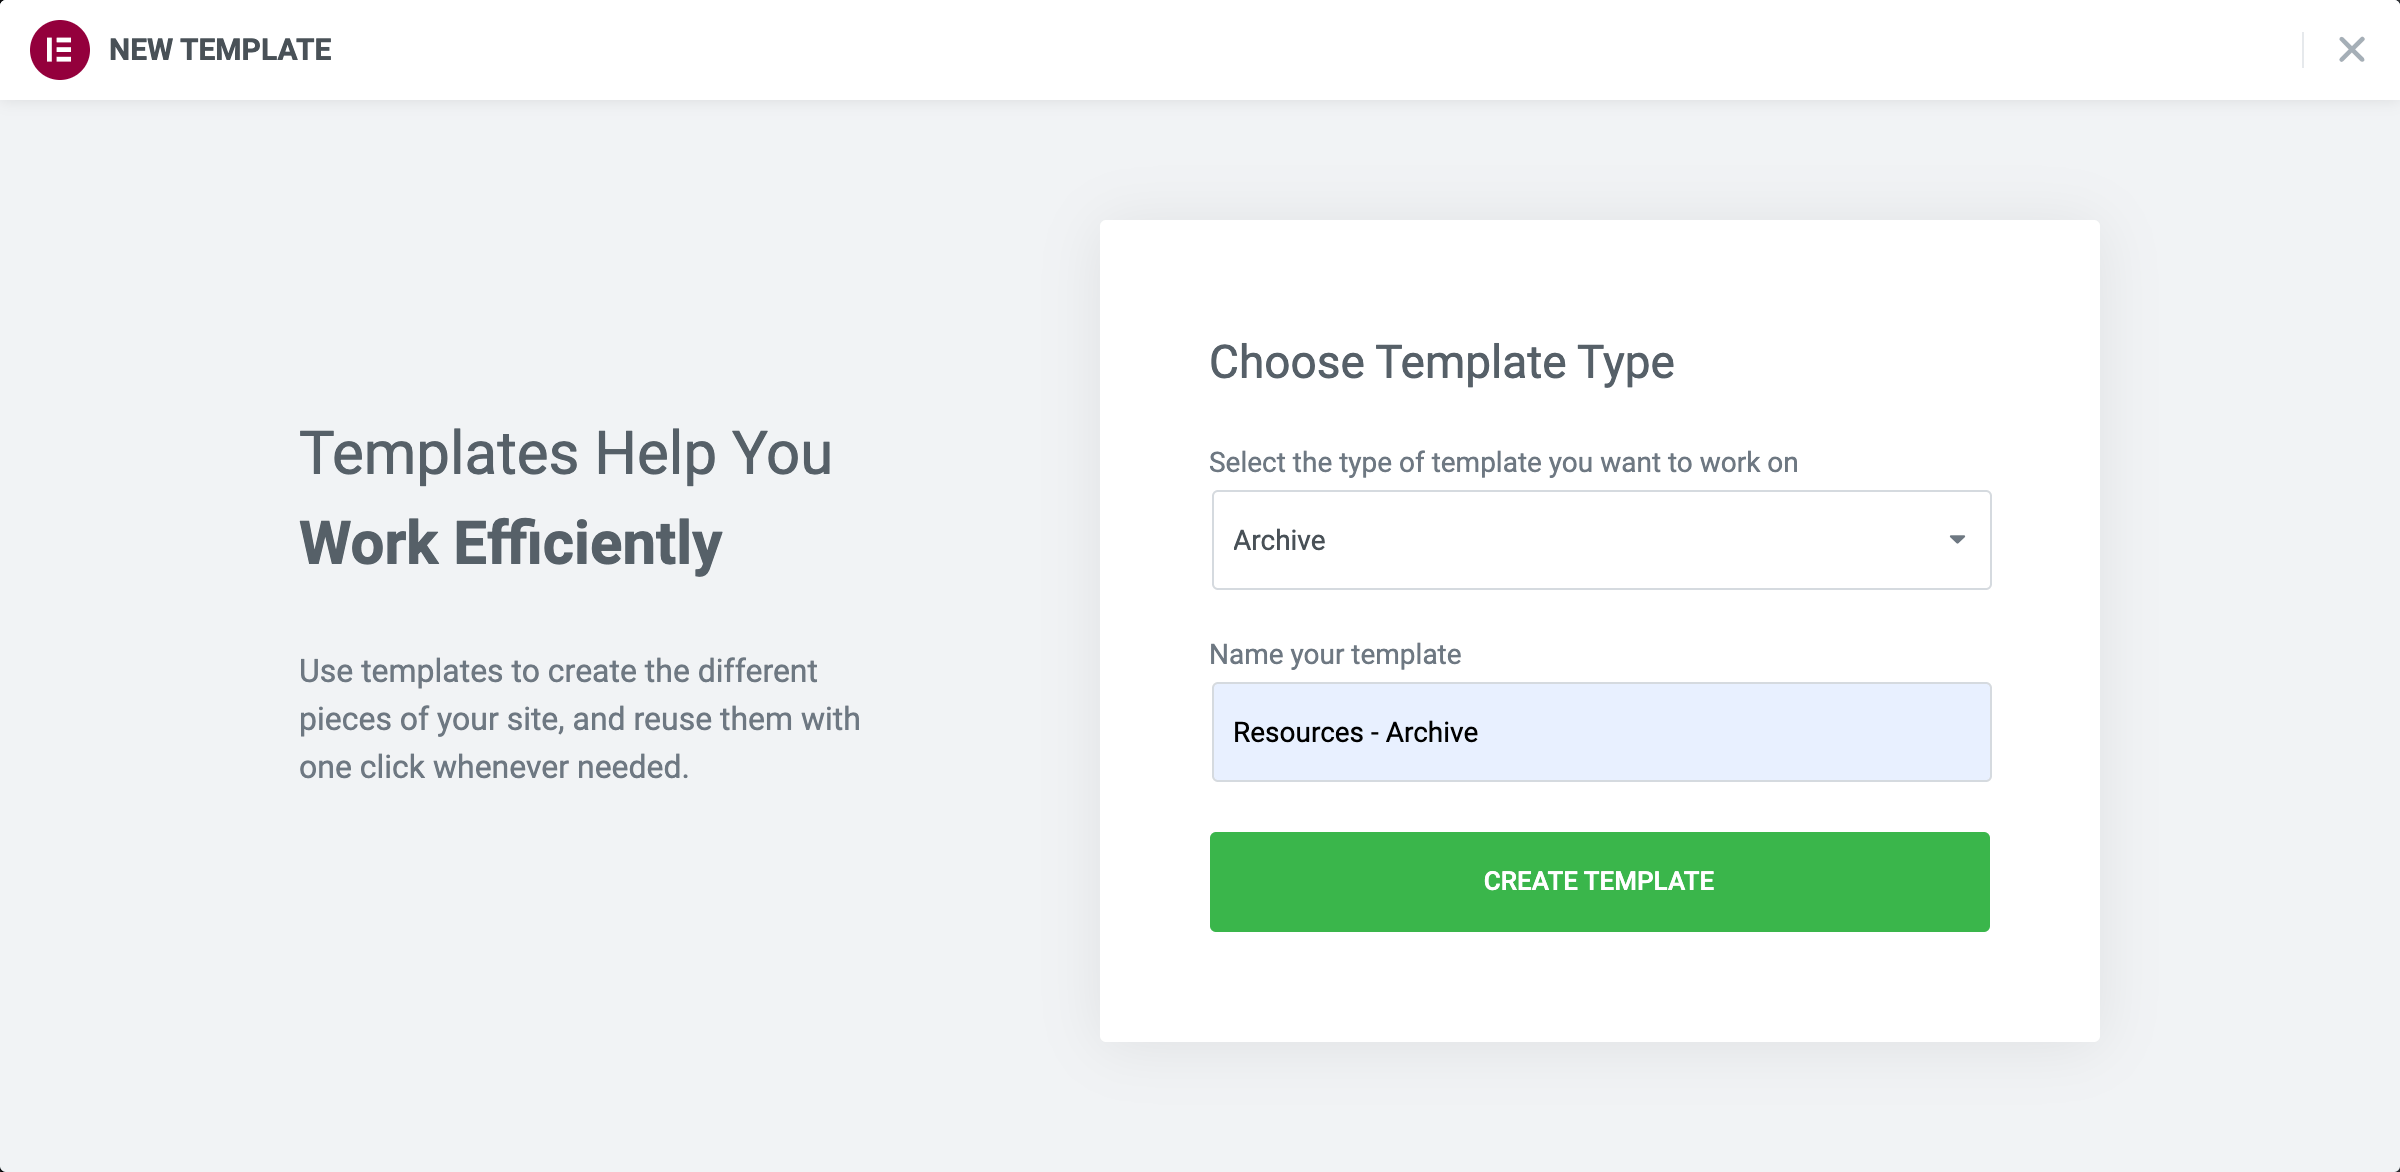
Once you’re here, you can click the “Add New” button at the top of the page. A popup will appear that will ask you to choose a template type. This is an important step as it will tell Elementor where and how to apply the template. For the main Resource Archive, we’re going to select “Archive” as it will be a page that displays the posts of a certain post type. In this case, Resources, but we will get to that later. Be sure to name your template in a way that makes it clear which pages it will be applied to.
Designing Your Template
The first thing you will see after creating your archive template is the Elementor template library. You will need Elementor Pro to use these. They can be a good starting point for those with little design experience. You can learn more about the template library here.
For the purposes of this article, we’re going to skip the template library, so go ahead and close that popup. From here, you will see a blank page with your site’s header and footer, and to the left, you will see a list of Elementor widgets that you can drag and drop onto the blank page. This is where you can really get creative and design an awesome Resource page for your site. Here are some helpful Elementor widgets you may want to use on your page:
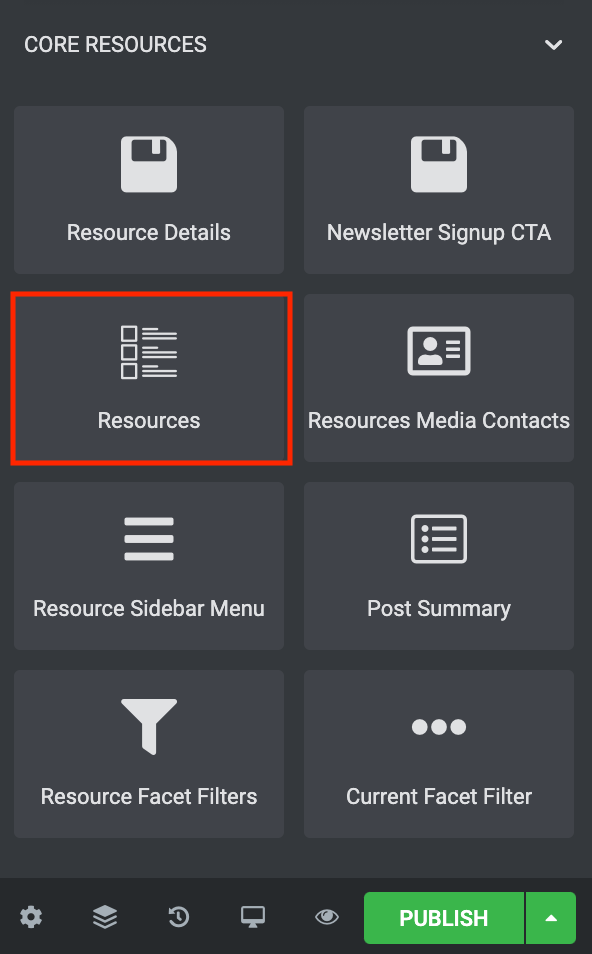
For the purposes of this article, let’s scroll down towards the bottom of the widget list to find the Core Resources section. Then, we will drag and drop the Resources widget onto the page. This is a very powerful widget that allows you to finely customize how each of your resource types are displayed. You can learn more about that widget here.
You may also want to add filtering to this page so that users can select a resource type or topic to narrow down the results. To do this, you will need to configure the FacetWP plugin which you can learn about here. Then, you can add the Resource Facet Filters widget above the Resources widget. You can learn more about that widget here.
Display Conditions
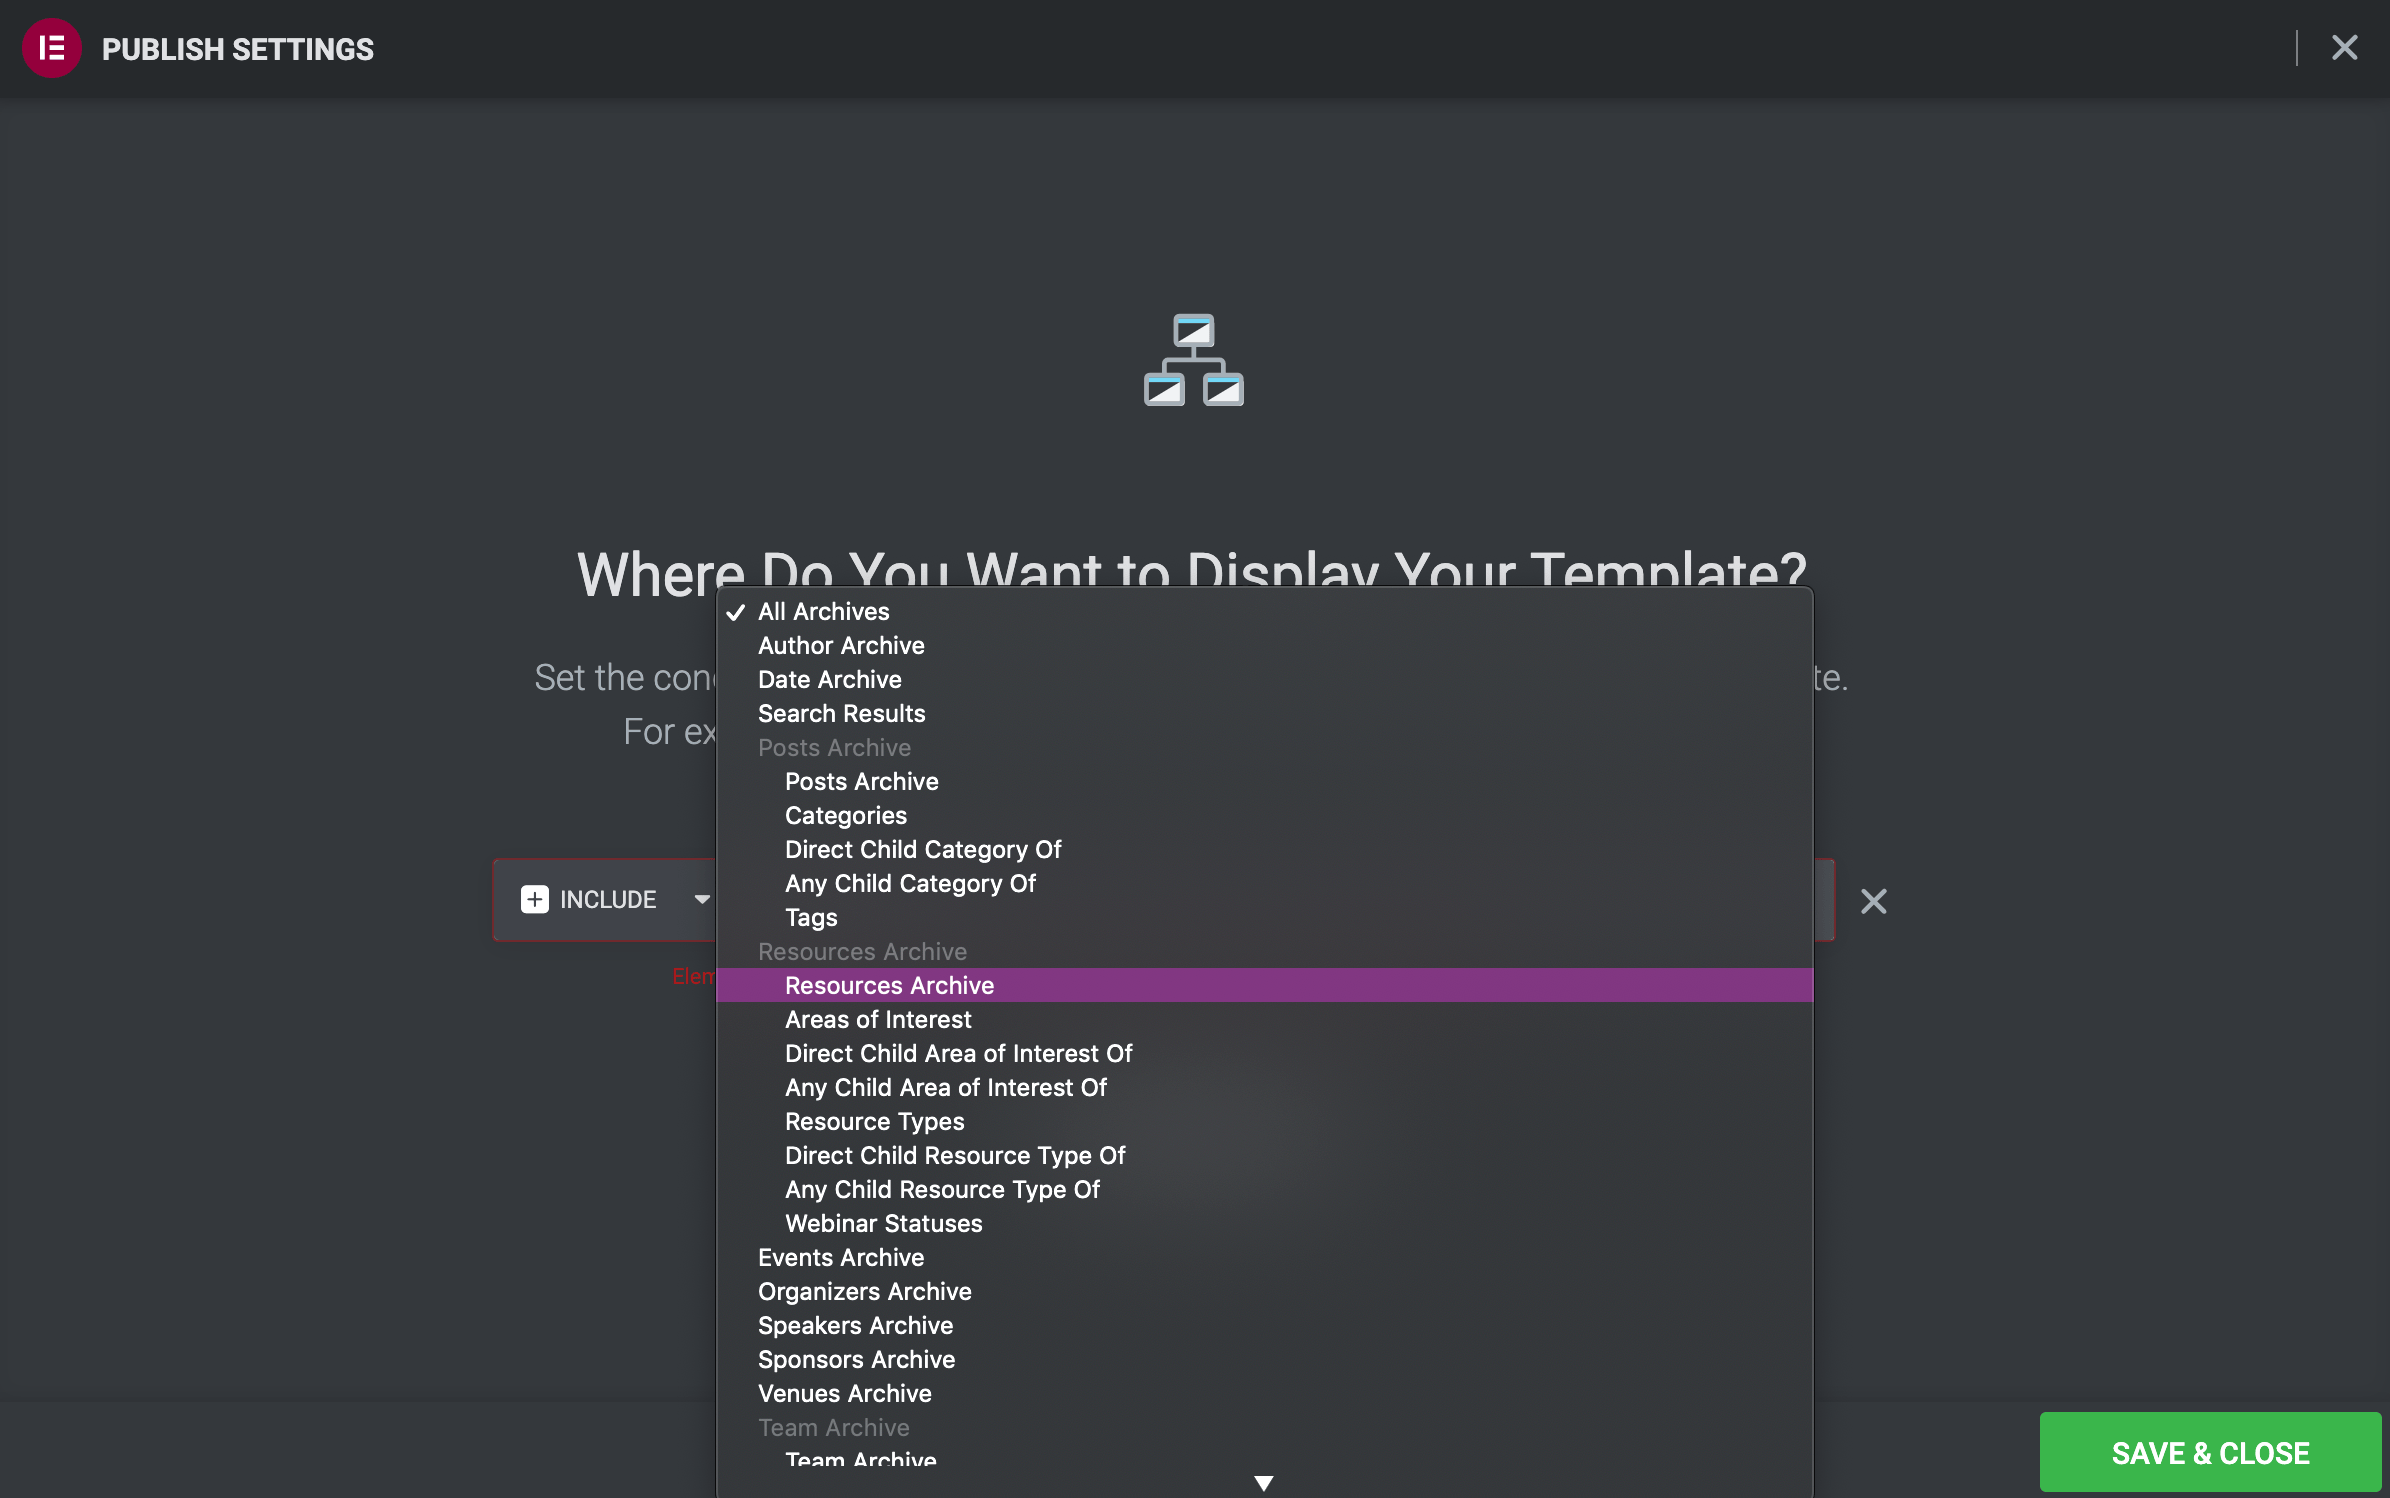
Finally, when your page is complete, you can click the green “Publish” button at the bottom of the widget list. Once you do that, you’ll be prompted to add display conditions so Elementor knows which page to apply this template to. Click “Add Condition” and you will see a dropdown list of the different archives available to choose from on your site. For this template to display on your main resource archive, select “Resources Archive” under Resources Archive. Then click “Save & Close.”
Once that is set, go ahead and go to your site’s Resource Archive page. (Example: yoursite.com/resources, or learn how to change the slug here.) You should now see the template you just created displaying all of your resources!