The new CoreResources dashboard contains quick access to your resources management tools and settings. From here you can get an overview of your latest resources, modify your global resource settings, and create new resources, resource types, taxonomies, or field groups

Settings
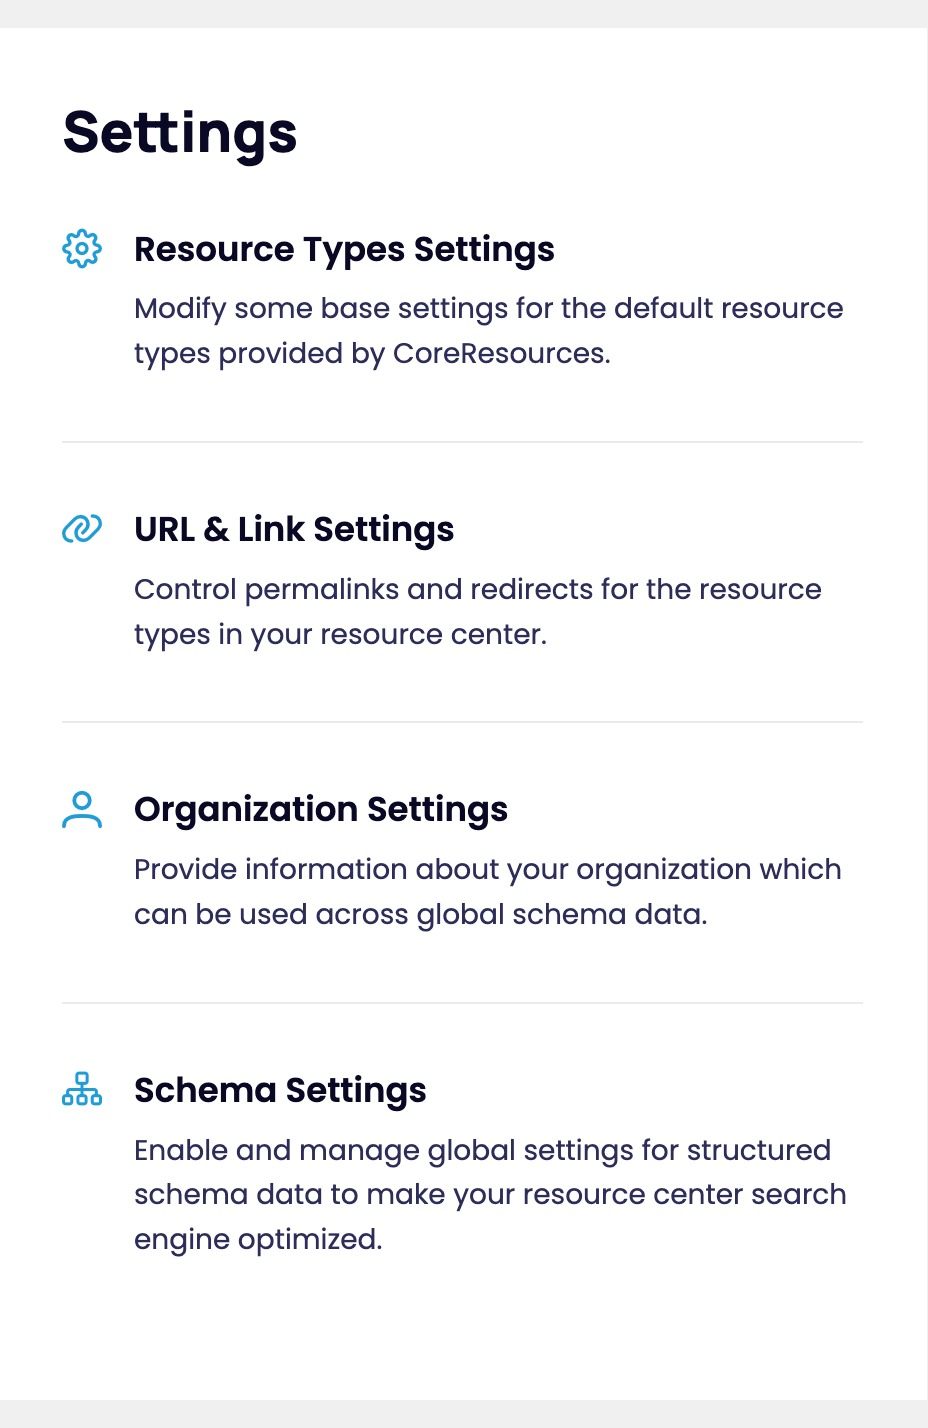
On the left side of the dashboard is the settings management. The settings are broken up into 4 parts:
- Resource Types
- URL & Link
- Organization
- Schema
Resource Types
With these settings, you can modify some base settings for the default resource types provided by CoreResources. It is split into 3 tabs:
- Webinars
- Media Contact
- Press Kit
Webinars
These are global settings for the Webinars resource type.
Here you can set:
- Webinar Timezone – the default timezone for all webinars.
- Past Webinars Label – the label for the webinar state based on its date if that date has passed. Default is “Past”
- Upcoming Webinars Label – the label for the webinar state based on its date if that date is in the future. Default is “Upcoming”
The usage of the Past and Upcoming labels are described more in detail on the Webinars article.
Media Contact
These settings should be filled in if you are using the “Media Contact” Elementor widget.
- Contact Name – the name of the person to contact for media inquiries
- Contact Phone Number – the phone number for your media contact
- Contact Email Address – the email for your media contact
Press Kit
This has just 1 setting:
- Press Kit Documents – Here you can upload a PDF file with your press kit information.
URL & Link Settings
This section allows you to control permalinks and redirects for the resource types in your resource center.
- Resources Permalink – change the URL slug of your resource center and the resources within. The default is resources.
- Important note: Changing the permalinks on a live website can cause 404 issues and affect SEO! Make sure you know what you are doing before making changes. If you don’t immediately see your changes after updating this setting, use the standard WordPress admin bar navigation to go to Settings > Permalinks, resave that page, and then clear any cache your website might have through hosting or plugins.
- In The News – set the behavior for resources of type In The News. They can either get a singular page or redirect to the Publication URL field.
- Whitepapers – similarly, the Whitepapers type may get their own singular pages or can be redirected to the URL field
- Webinars – webinars can also get their own singular page or redirect to the URL field in the backend
Organization Settings
Here you can provide information about your organization which can be used across global schema data. There are 2 tabs of settings:
- Organization
- Default Fallbacks
Organization
- Logo – Upload a logo image to use inside of schema
- Type – select what type of business you run, based on accepted schema business types
- Hours – enter your business’s hours
- Name – your company name
- URL – current website homepage URL
- Address fields – enter the address of your business broke down into these fields
- Country
- Street Address lines 1 & 2
- City
- US State
- Non-US State / Region
- Zip / Postal Code
- Description – A short description of your business
- Social Media Accounts – add links to whichever social media accounts your company uses
Default Fallbacks
- Default Post Image – upload an image to use for posts that don’t have their own image. this image will be displayed in the schema for those posts
- Default Post Image Width (px) – The width of the image you upload in the field above in pixels*
- Default Post Image Height (px) – The height of the image you upload in the field above in pixels*
*You do not need to include “px” – just the number.
Schema Settings
Enable and manage global settings for structured schema data to make your resource center search engine optimized.
- Enable Schema – toggle this on to automatically start using schema across your resource center.
- Pretty Print Schema – toggle this on to have your schema code print in a human readable format inside the source code. This can be helpful for debugging or checking your settings are showing as set when viewing the source code.
- Pull From Yoast – for users who have the Yoast SEO plugin, toggling this on will default the schema title and description to pull from the Yoast meta fields. Otherwise it will default to the regular post title and excerpt.
For more information on setting up schema within CoreResources, read our knowledge base articles about the schema builder.